
As summer temperatures soar, there’s nothing more refreshing than a fully functional Car Air Conditioning System. But what happens when your Car A/C starts blowing warm air instead of the cool breeze you’re used to? More often than not, the issue is a lack of refrigerant, which is responsible for cooling the air inside your car. Fortunately, recharging or Charging a Car A/C is a relatively straightforward process that many car owners can perform with the right tools and precautions.
At Air Green Corporation, we understand how important a reliable Car AC System is for comfortable driving. This comprehensive guide explains How to Charge a Car A/C, the components involved, and the proper steps to recharge your vehicle safely.

Understanding the Car A/C System
Before recharging your Car Air Conditioning System, it’s important to understand how it works.
The AC system cools and dehumidifies the air inside your vehicle using refrigerant, usually R-134a Refrigerant or R-1234yf Refrigerant in newer models. The refrigerant absorbs heat from inside the cabin and releases it outside, creating cool air for passengers.
The major components of a typical Car AC System include:
Compressor
The compressor is the heart of the Car Air Conditioning System. It pressurizes the refrigerant and circulates it throughout the system.
Condenser
The condenser releases heat from the refrigerant, converting it from a high-pressure gas into a liquid.
Evaporator
The evaporator absorbs heat from the cabin air, cooling it before it flows through the dashboard vents.
Expansion Valve or Orifice Tube
This component controls the refrigerant flow into the evaporator, ensuring efficient cooling.
Refrigerant
The refrigerant continuously changes between liquid and gas as it absorbs and releases heat throughout the cooling cycle.
Over time, refrigerant levels can decrease due to small leaks or natural loss, reducing cooling performance. Recharging restores the proper refrigerant level.
Signs Your Car A/C Needs Charging
Before adding refrigerant, recognize the warning signs that indicate a recharge may be necessary.
Warm Air from the Vents
If your Car AC blows warm or slightly cool air instead of cold air, refrigerant levels may be low.
Weak Airflow
Reduced airflow from the vents may indicate low refrigerant or a restriction within the system.
Compressor Frequently Cycles On and Off
When refrigerant pressure becomes too low, the compressor may repeatedly engage and disengage to protect itself from damage.
Strange Noises
Hissing, bubbling, or unusual noises can indicate refrigerant leaks or damaged AC components.
If these symptoms remain after recharging, the system should be professionally inspected for leaks or mechanical failures.
Preparing to Charge Your Car A/C
Proper preparation helps ensure a safe and successful recharge.
Tools and Materials Required
Before starting, gather the following:
A/C Refrigerant Canister (R-134a or R-1234yf depending on your vehicle)
A/C Recharge Kit
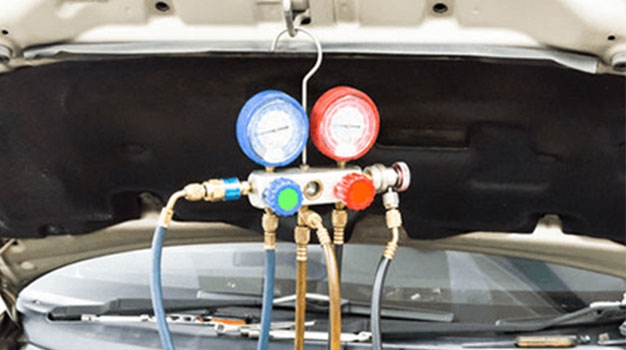
Pressure Gauge
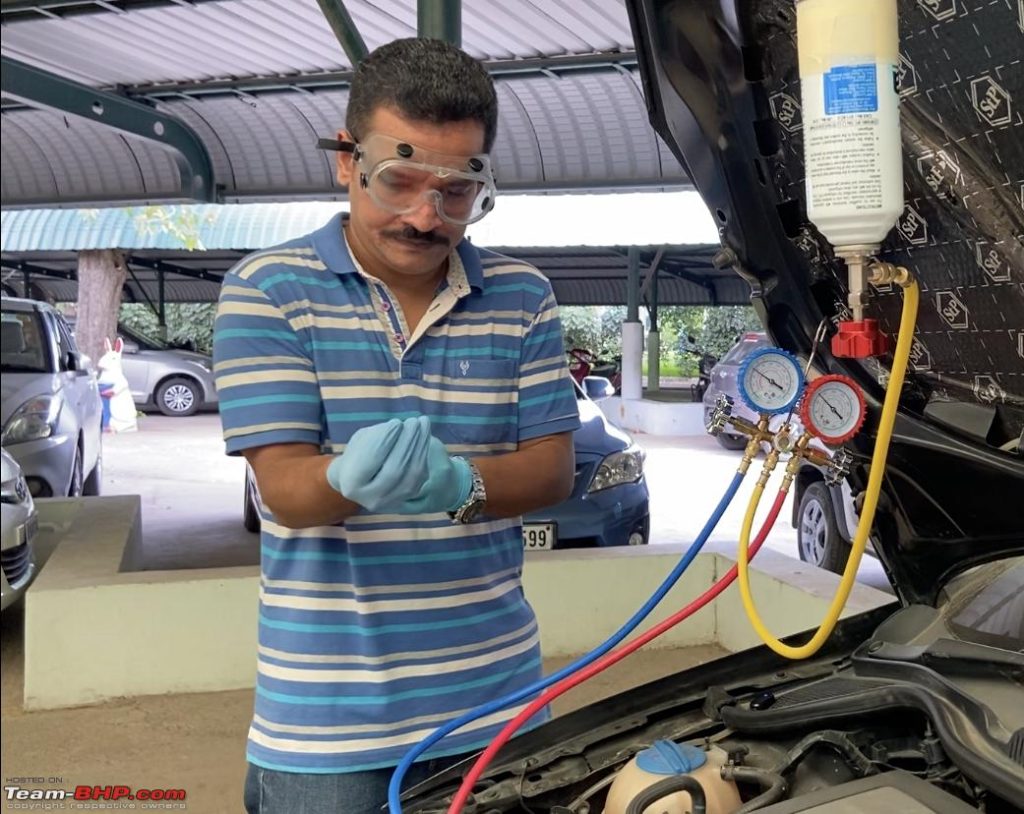
Protective Gloves
Safety Glasses
Thermometer
Pen and Paper for recording pressure readings
Check Your Owner’s Manual
Always verify:
Recommended refrigerant type
Refrigerant capacity
Manufacturer charging specifications
Service precautions
Using the wrong refrigerant can damage your Automotive AC System.
Step-by-Step Guide to Charging a Car A/C
Step 1: Locate the Low-Pressure Service Port
Locate the low-pressure service port near the AC compressor.
The low-pressure port:
Has a larger fitting than the high-pressure side.
Is often marked with an “L” or “LOW.”
May have a protective plastic cap.
Consult your owner’s manual if needed.
Step 2: Connect the Recharge Hose
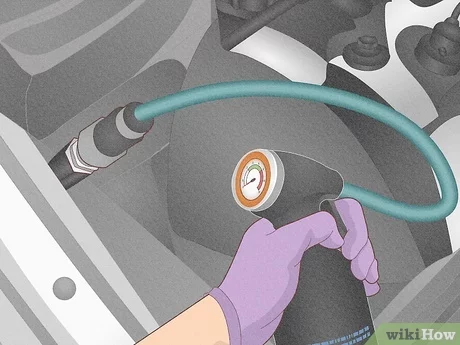
Attach the recharge hose securely to the low-pressure service port.
Ensure the connection is tight to prevent refrigerant leakage during charging.
Step 3: Check Refrigerant Pressure
Start the engine.
Turn the air conditioner to:
Maximum cooling
Highest blower speed
Observe the pressure gauge included with the recharge kit.
If the gauge indicates low pressure, the system requires refrigerant.
If pressure is already high, do not add refrigerant because overcharging may damage the system.
Step 4: Add Refrigerant
Begin adding refrigerant slowly.
Hold the refrigerant can upright.
Follow the recharge kit instructions.
Shake the can gently if recommended.
Add refrigerant gradually.
Monitor the pressure gauge throughout the process.
Do not exceed the recommended pressure range.
Overcharging reduces cooling efficiency and may damage expensive AC components.
Step 5: Monitor Vent Temperature
As refrigerant enters the system:
Periodically check vent temperature.
Cold air should gradually begin flowing.
Cooling performance should noticeably improve.
If warm air continues after charging, additional diagnosis may be required.
Step 6: Disconnect the Recharge Hose
Once the proper pressure has been reached:
Turn off the engine.
Disconnect the recharge hose.
Reinstall the service port cap securely.
The cap helps protect the service port from dirt and refrigerant leakage.
Testing Your Car Air Conditioning System
After completing the recharge:
Start the engine.
Turn the AC to maximum cooling.
Verify strong airflow.
Confirm that cold air is coming from the vents.
Continue monitoring cooling performance during normal driving.
If cooling performance declines again after a short period, refrigerant leakage is likely present.
When to Seek Professional Help
Sometimes recharging alone will not solve the problem.
Professional diagnosis may be required if your vehicle has:
Refrigerant Leaks
Leaks may develop in:
Hoses
O-rings
Condenser
Evaporator
Compressor seals
Adding refrigerant without repairing leaks only provides a temporary solution.
Compressor Failure
A damaged compressor cannot properly circulate refrigerant throughout the Car AC System, resulting in poor cooling performance.
Blocked Components
Restrictions inside the condenser, evaporator, expansion valve, or orifice tube can prevent proper refrigerant circulation and reduce cooling efficiency.
Professional technicians have specialized equipment to identify these problems accurately.
Why Choose Air Green Corporation?
Air Green Corporation supplies premium-quality automotive air conditioning components for passenger cars, commercial vehicles, and other automotive applications.
Our product range includes:
AC Compressors
AC Condensers
Evaporators
Expansion Valves
Blower Motors
Receiver Driers
Car AC Parts
Automotive Cooling Components
We are committed to delivering dependable automotive cooling solutions that help maintain reliable performance and long service life.
Conclusion
Learning How to Charge a Car A/C helps restore cooling performance when refrigerant levels become low. Following the correct charging procedure, using the proper refrigerant, and carefully monitoring system pressure are essential for maintaining an efficient Car Air Conditioning System.
Routine inspections, timely leak repairs, and premium replacement components can significantly extend the life of your vehicle’s AC system. Choosing trusted automotive solutions from Air Green Corporation helps ensure dependable cooling, improved comfort, and long-lasting Car AC Performance throughout every season.